Windows Installation#
Warning
It is recommended that you enable long paths on Windows to prevent any files from not being copied during installation. Follow https://www.microfocus.com/documentation/filr/filr-4/filr-desktop/t47bx2ogpfz7.html, then reboot to enable long paths
Prerequisites#
Installing WSL#
The only prerequisite for ChipWhisperer on Windows is enabling and installing a distribution for Windows Subsystem for Linux (WSL). If you don’t already have this enabled:
Restart your computer.
Open a command prompt or powershell windows and run
wsl --install -d ubuntuRestart your computer again
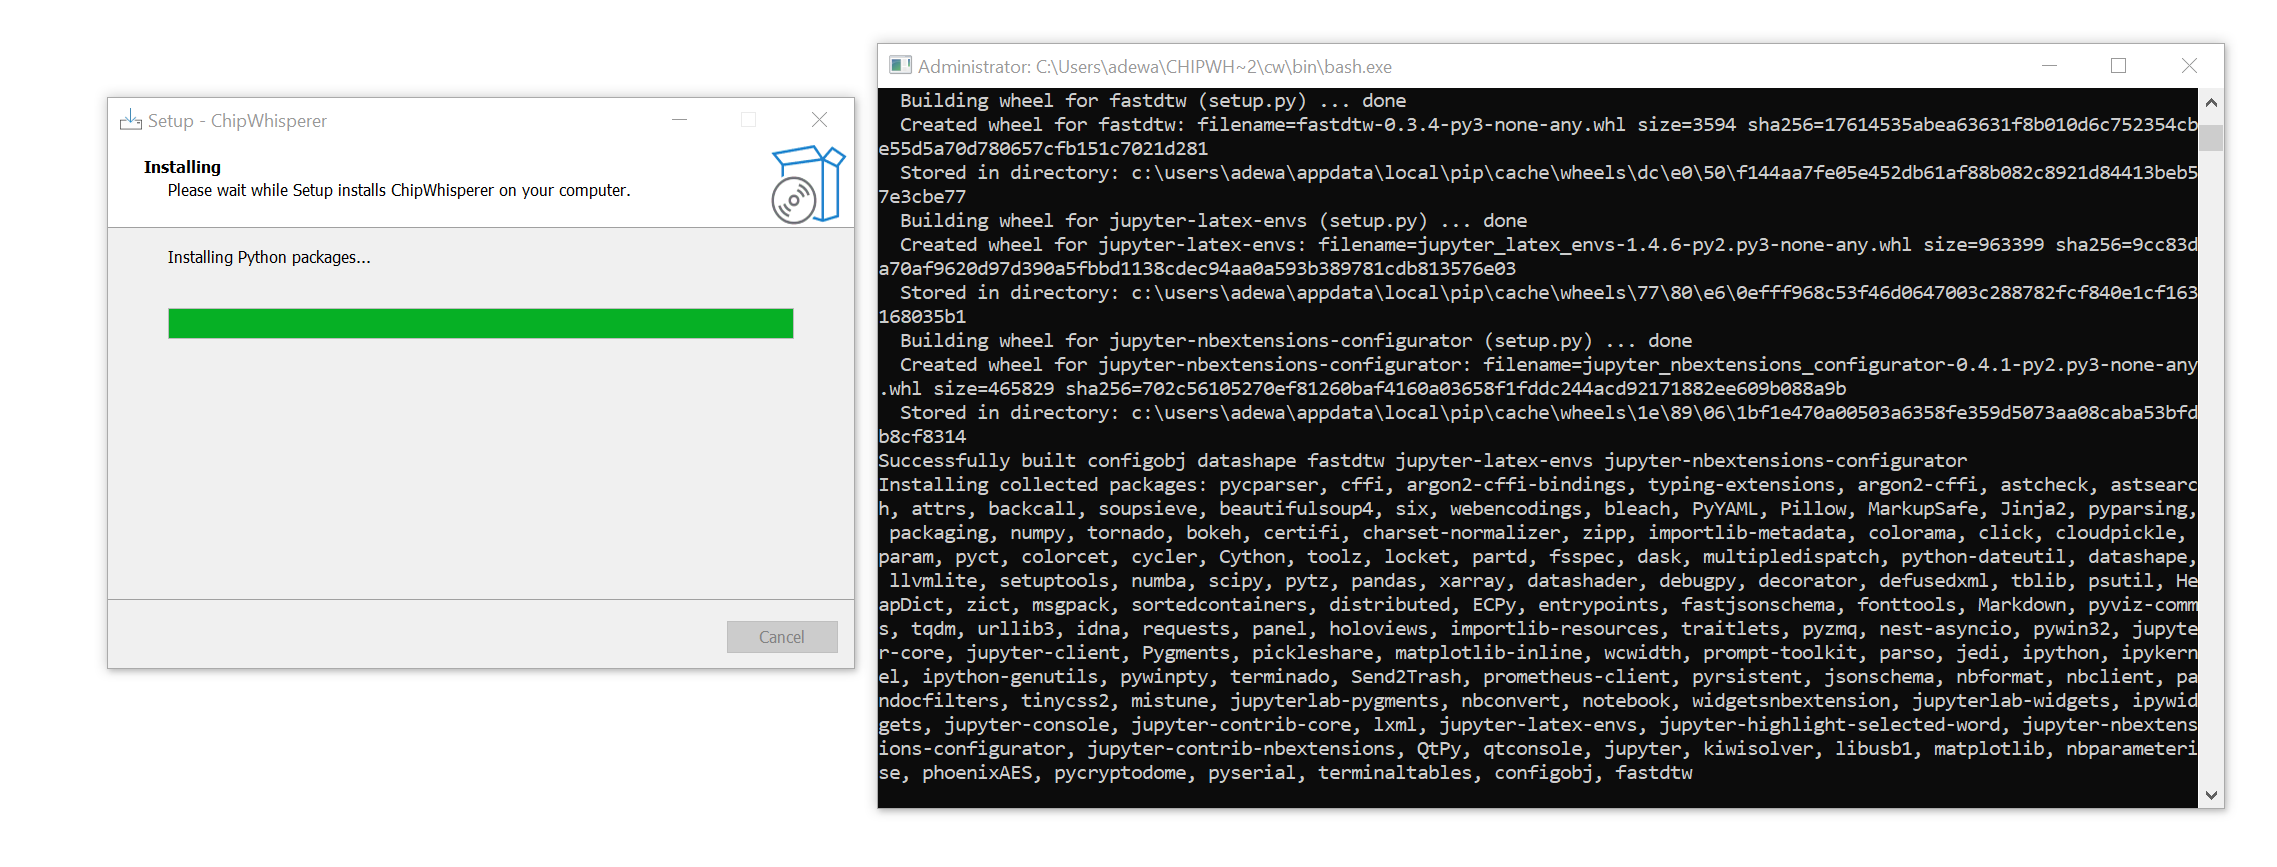
Our Windows installer will install some compilers for building target firmware. This step requires an internet connection, so if you want to complete this step ahead of time, or if this step fails during installation, please see Installed Applications.
Installing Compilers In WSL:#
Our Windows installer will attempt to install compilers for building target firmware in WSL. This is both the only part of the install that requires an internet connection and the only part that requires WSL during the install (the updater requires both as well, but doesn’t run during the install). It is also completely independent of the rest of the install. As such, you may want to manually complete this step before or after running the installer.
Installing the compilers can be easily done, if you have WSL installed, by running the following commands:
Run WSL
Run
sudo apt update.Run
sudo apt install -y build-essential gcc-arm-none-eabi gcc-avr avr-libc
Running the Installer#
If you want to run a native Windows installation of ChipWhisperer, your best bet is to run the Windows installer, which takes care of getting the prerequisites for you. The steps for using the installer are as follows:
Navigate to the ChipWhisperer release page on Github.
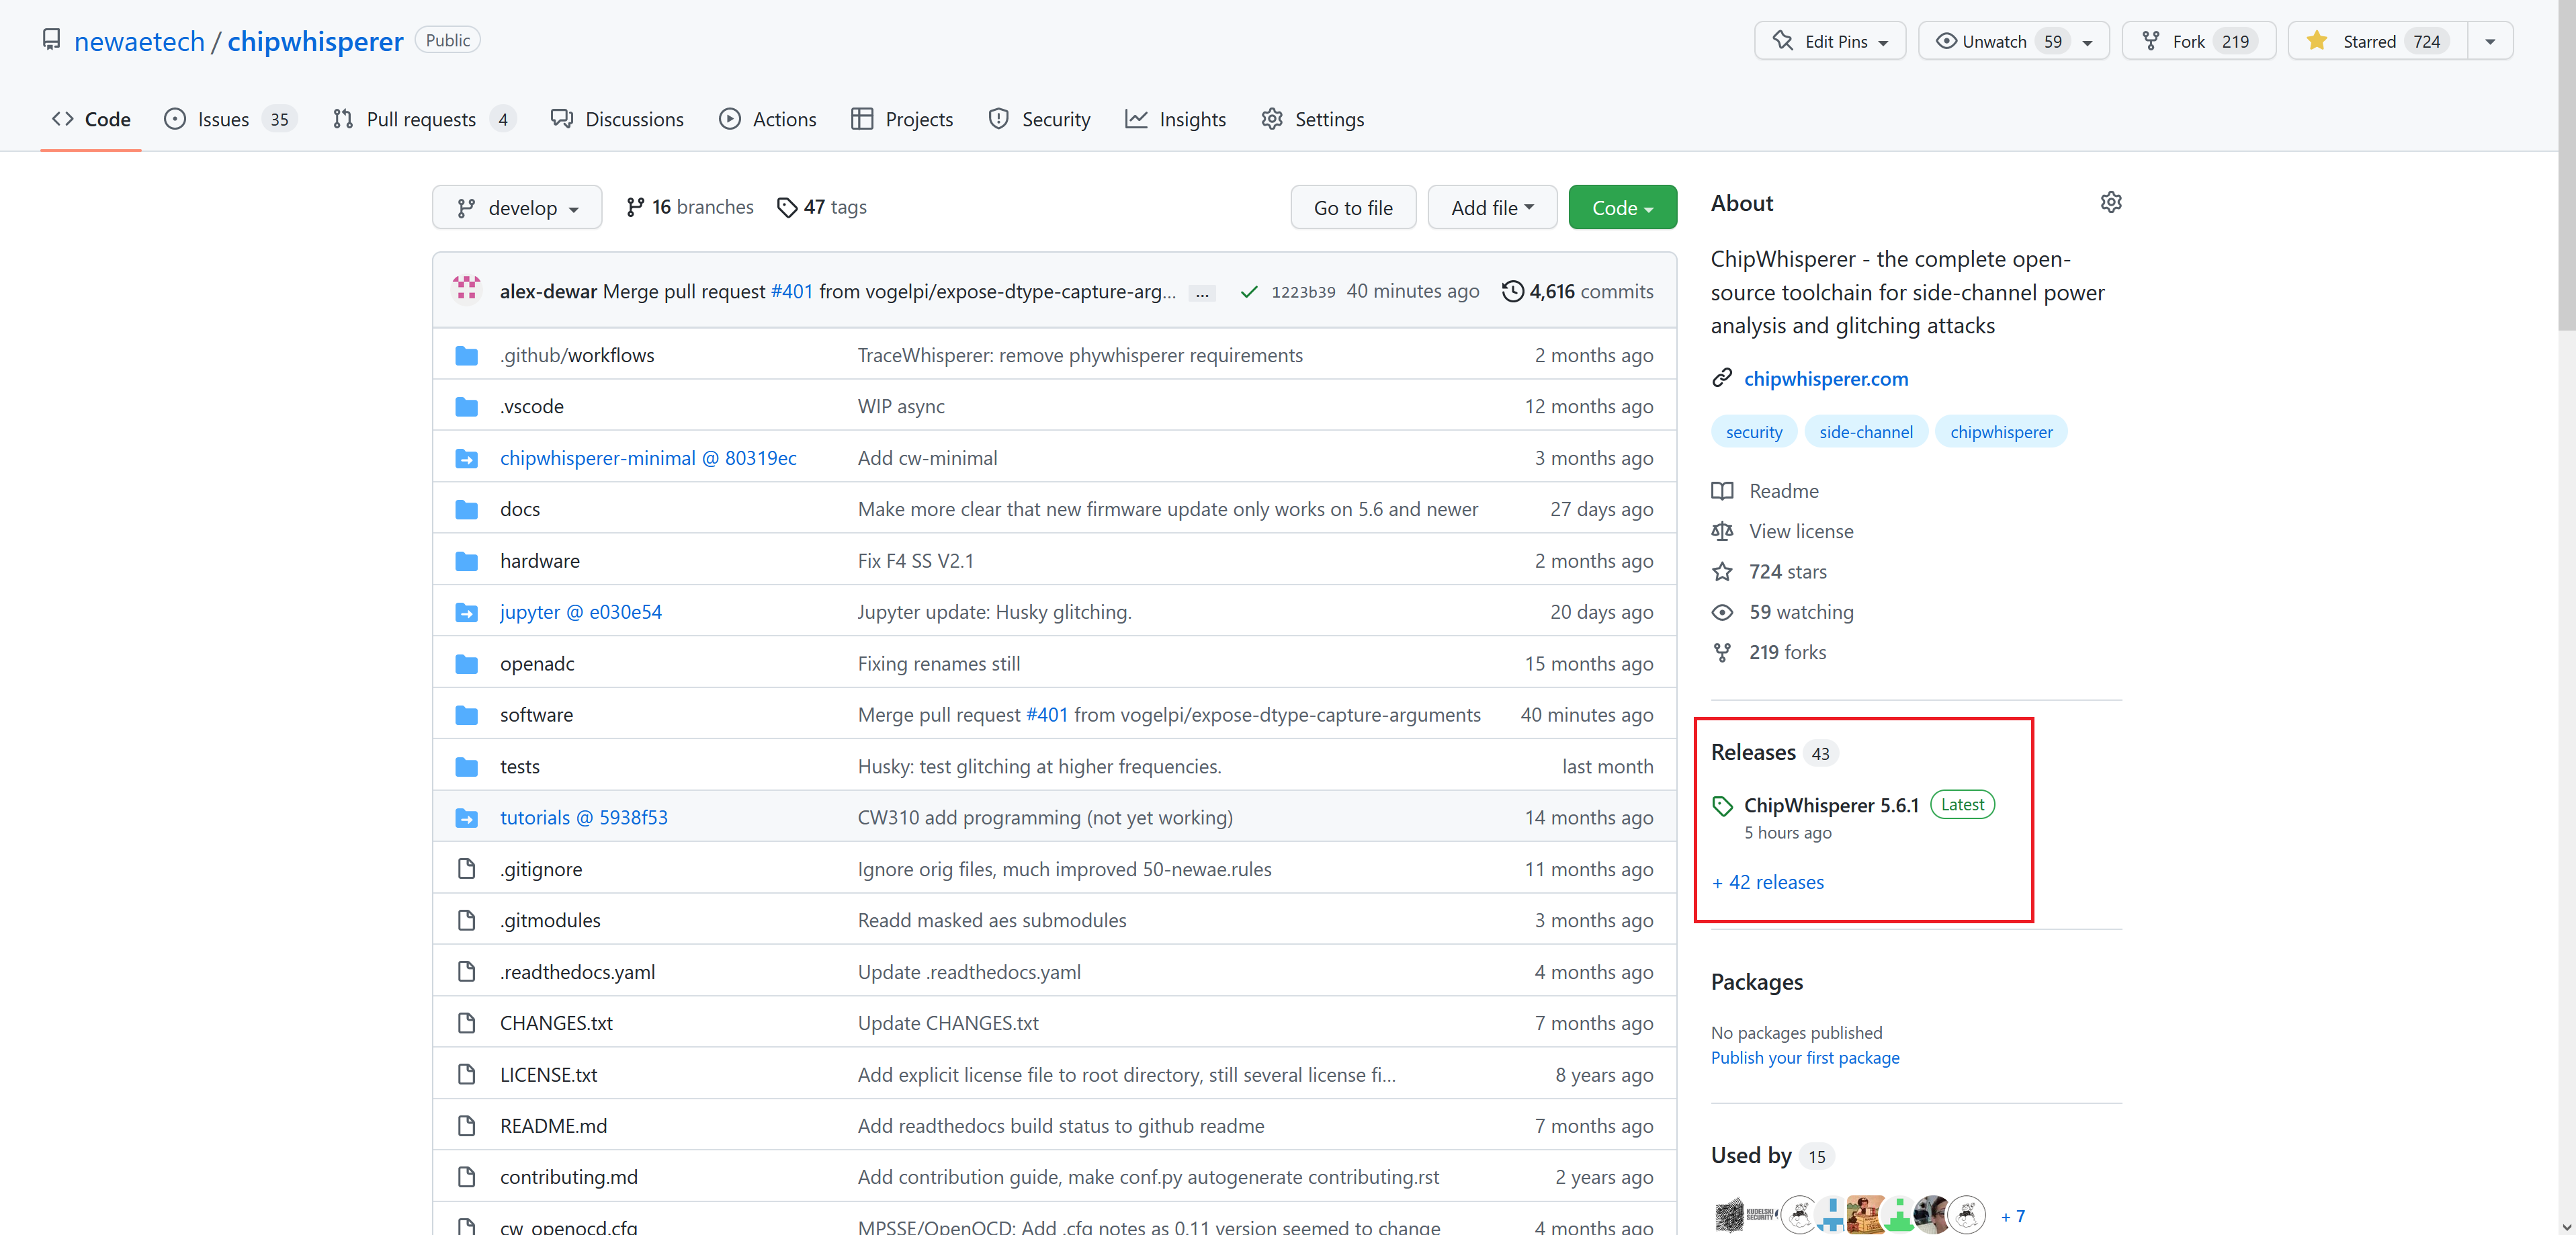
Find the latest ChipWhisperer Windows install executable (currently
Chipwhisperer.v6.0.0.exe)Run the installer. A summary of the installation is given on the second page.
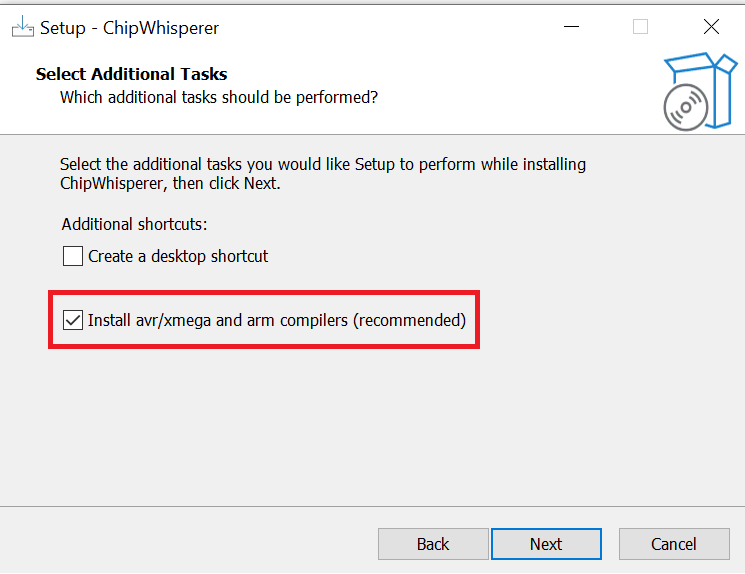
Run the executable and choose the path you want to install ChipWhisperer at. You must have read/write permissions for the location you install to, so avoid installing in a location like
C:\Program Filesor the like. The default install location (the user’s home directory) will work for most users.Choose whether or not you want to create a desktop shortcut for running ChipWhisperer.
Wait for the installation to finish. Additional windows will pop up during the installation to setup Python and install WSL compilers.
Some additional checks are run after the installation has completed. If any issues arise, you will be notified via a message box.
Installed Applications#
ChipWhisperer#
Once you’ve completed the above, you should have a fully functioning, self-contained installation with everything you need.
The easiest way to launch ChipWhisperer and get started with the tutorials is by running the ChipWhisperer application, available via the Start Menu, the folder where you installed ChipWhisperer, or, if you selected this, via a desktop shortcut. After running, you should see a terminal pop up, followed by a new window open in your browser:

Once you see this open, we recommend clicking on jupyter, then running through 0 - Introduction to Jupyter Notebooks.ipynb
to verify that everything installed correctly. If you run into any issues, please ask on our forums for help.
Chipwhisperer Updater#
Installers for ChipWhisperer are only built every time we do a stable release. As the time between releases can be
quite lengthy, you may want to update ChipWhisperer before the next release. The easiest way to do this is to use the
ChipWhisperer-Updater application, which automates the process.
Warning
During this process, we try to save changes made to the ChipWhisperer and ChipWhisperer-Jupyter repoisitores. If this process fails, the user will be notified and asked if they wish to continue. If they do, changes may be lost.
CW Compiler Environment#
In addition to the main ChipWhisperer application and updater, an additional application is installed, CW Compiler Environment.
This application launches a WSL instance with ChipWhisperer’s compilers setup and available so that you can build
target firmware outside of Jupyter.
Note that Python and ChipWhisperer aren’t available from this environment, or WSL in general. While it is simple to install Python in WSL, USB devices aren’t available in WSL. As such, the installer doesn’t install Python or ChipWhisperer in WSL.

Common Issues#
Updater Fails Due to Dubious Ownership/Unsafe Directory#
The most common cause of this error is not rebooting after installing your WSL distro, as all files will be owned by root until this is done. The easiest way to fix this is to simply reboot your computer, but you can also run the following command in the chipwhisperer and jupyter folders via the CW Compiler Environment:
git config --global --add safe.directory $(pwd)
cd jupyter
git config --global --add safe.directory $(pwd)
Javascript Error: IPython is not defined#
For the past few releases, most of our notebooks have used the cw.plot()
function to graph information. In an effort to clean up the install, we removed
other plotting libraries, namely matplotlib, but a few instances of matplotlib
were missed.
To fix, replace:
import matplotlib.pylab as plt
plt.plot(data)
plt.show()
with:
import chipwhisperer as cw
display(cw.plot(data))
Make/Compilers not recognized as internal or external command#
Similar to the matplotlib error above, some changes to the 6.0.0 release removed support for a method of invoking bash commands used in a few places in the notebooks.
To fix, change:
!cmd
with:
%%bash
cmd